ScreenShot\ScreenShot

|
Main page |
|
Index |
| UK FAQ |
| Documentation |
|
Software
|
|
CTAN Search CTAN: |
|
Statistics |
|
Google c.t.t. Google d.c.t.t. |
|
 |
|
 |
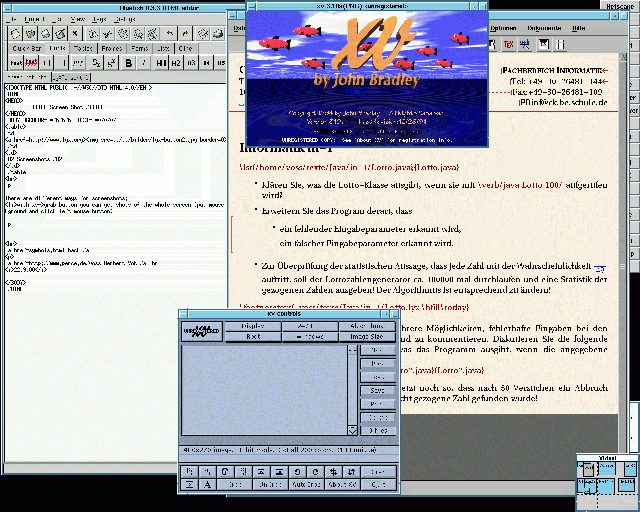
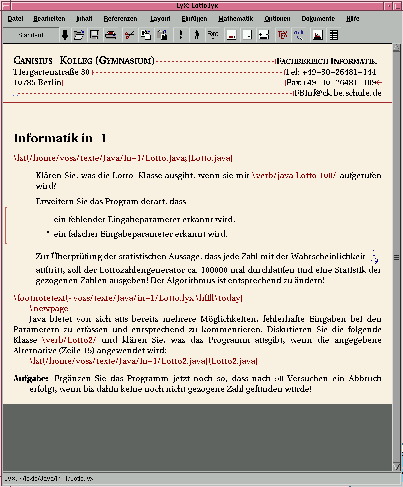
with xv
-
shots of the whole screen
-
- start xv
- click grab->grab button
- put mouse pointer anywhere in the background and click left mouse button
- the whole screen appears as image!
- click right mouse button and save it.
-
- same as above, only the mouse pointer has to be placed in the window.
-
- instead of the left button it's possible to to mark a rectangular with the right mouse button. Put the mousepointer to a lower or upper corner of the rectangular which you want to grab. click right mouse button (hold the button down) and put the cursor to the other corner of the rectangular.

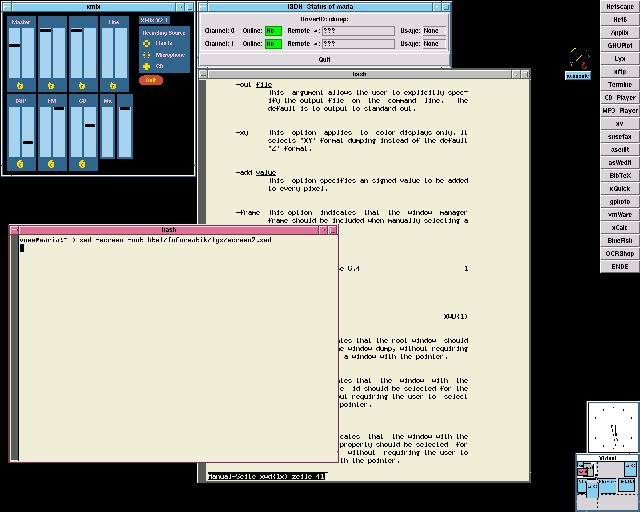
with xwd
There are several other options for xwd, so have a look at the manpage.-
shots of the whole screen
-
- start xwd through xwd -screen -out foo.xwd
- put the cursor anywhere ;-) and click left mouse button
- convert the foo.xwd file to any other format with e.g. convert foo.xwd foo.gif
-
- start xwd through xwd -out foo.xwd
- put the cursor in the specific window and click left mouse button
convert the foo.xwd file to any other format with e.g. convert foo.xwd foo.gif
Converting to eps-format
some meanings of users:
I just used the following steps, with excellent output on a 600 DPI Postscript printer:
1. Use XV to grab a window (an 800x800 Xemacs window);
2. Save the grabbed file as full-colour (24-bit) TIFF (you could save it as a greyscale TIFF if you didn't need to make a PDF file or print it to a colour printer);
3. Convert to EPS with "tiff2ps -e file.tiff > file.eps";
4. Insert it into your doc as an EPS figure.
Here I get good results using xwd, ImageMagick convert to eps in grayscale and avoiding resizing in the \includegraphics (i.e. convert to the required size using -geometry).
Example:
xwd > foo.xwd
(click in the window to create the snapshot)
convert -colorspace GRAY -dither -geometry 50% foo.xwd foo.eps
Converting to png and using pdflatex should give good (better?) results.
If bitmap graphics is needed, perhaps the best way is to use pdflatex which can directly include JPEG/PNG/TIFF images.
Unfortunately, the most recent stable version (1.1.5fix1) doesn't have PDF support, so you will have to export the file as latex and run pdflatex yourself (the CVS version does have PDF support).
Another way is to save all screenshots as png and then convert them to eps with:
pngtopnm -mix -background 1,1,1 $< |pnmtotiff -packbits >$*-tmp.tif
tiff2ps -2ez -i0 $*-tmp.tif >$@ || rm -f $@
rm -f $*-tmp.tif